
1. Log in to your Breeze EMR
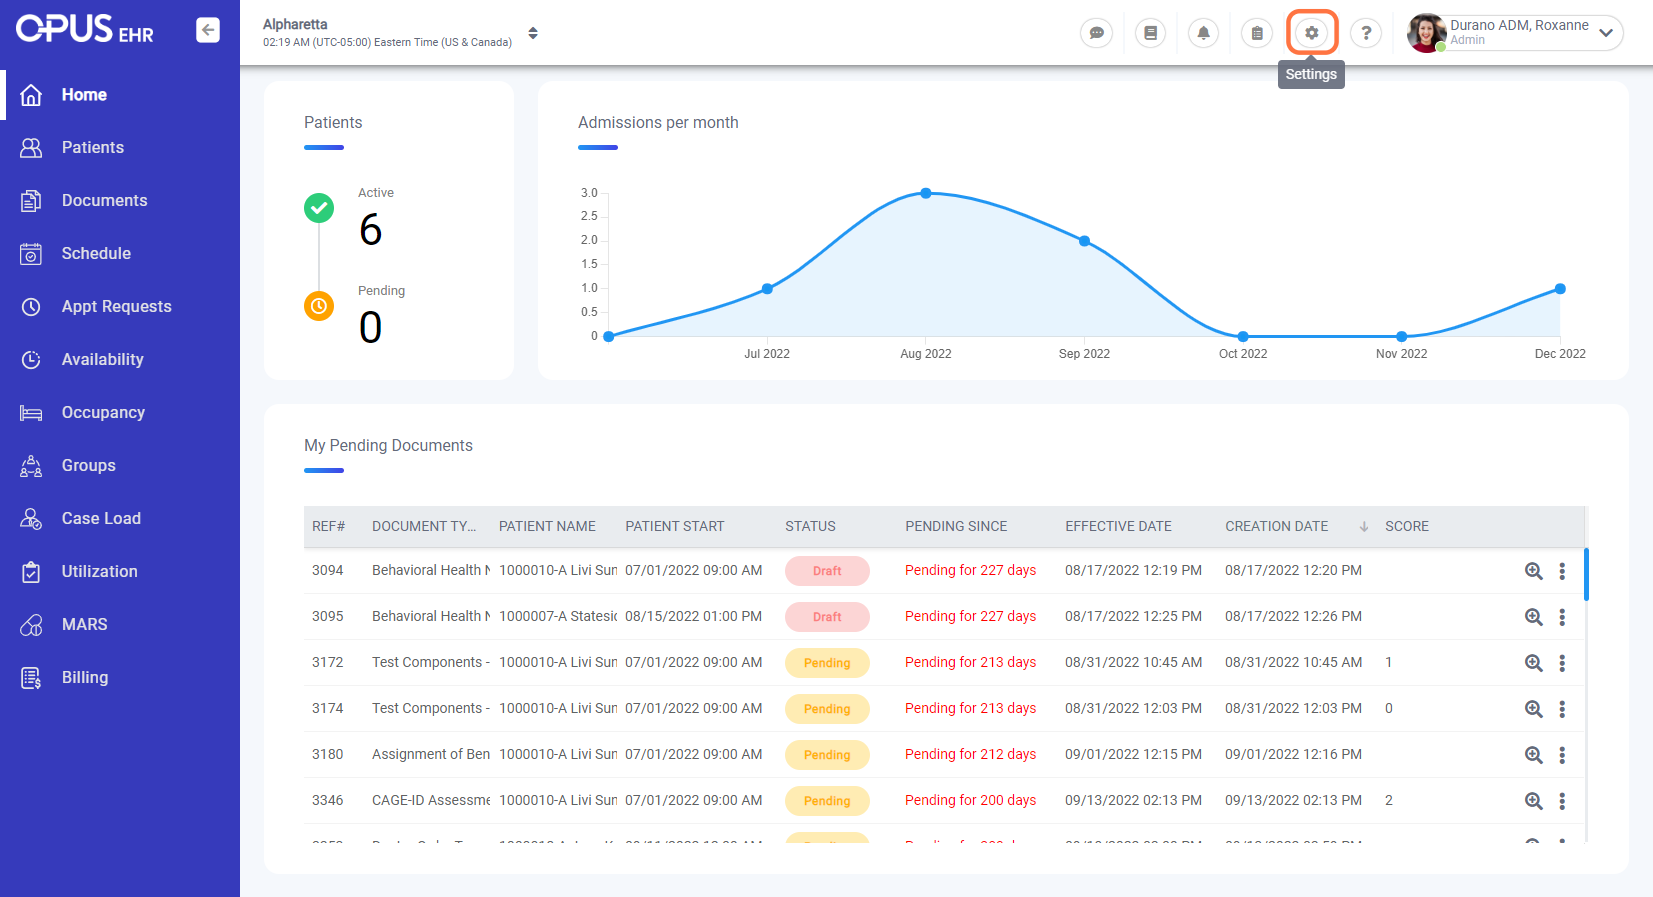
2. On the top right side, select the gear icon for Settings
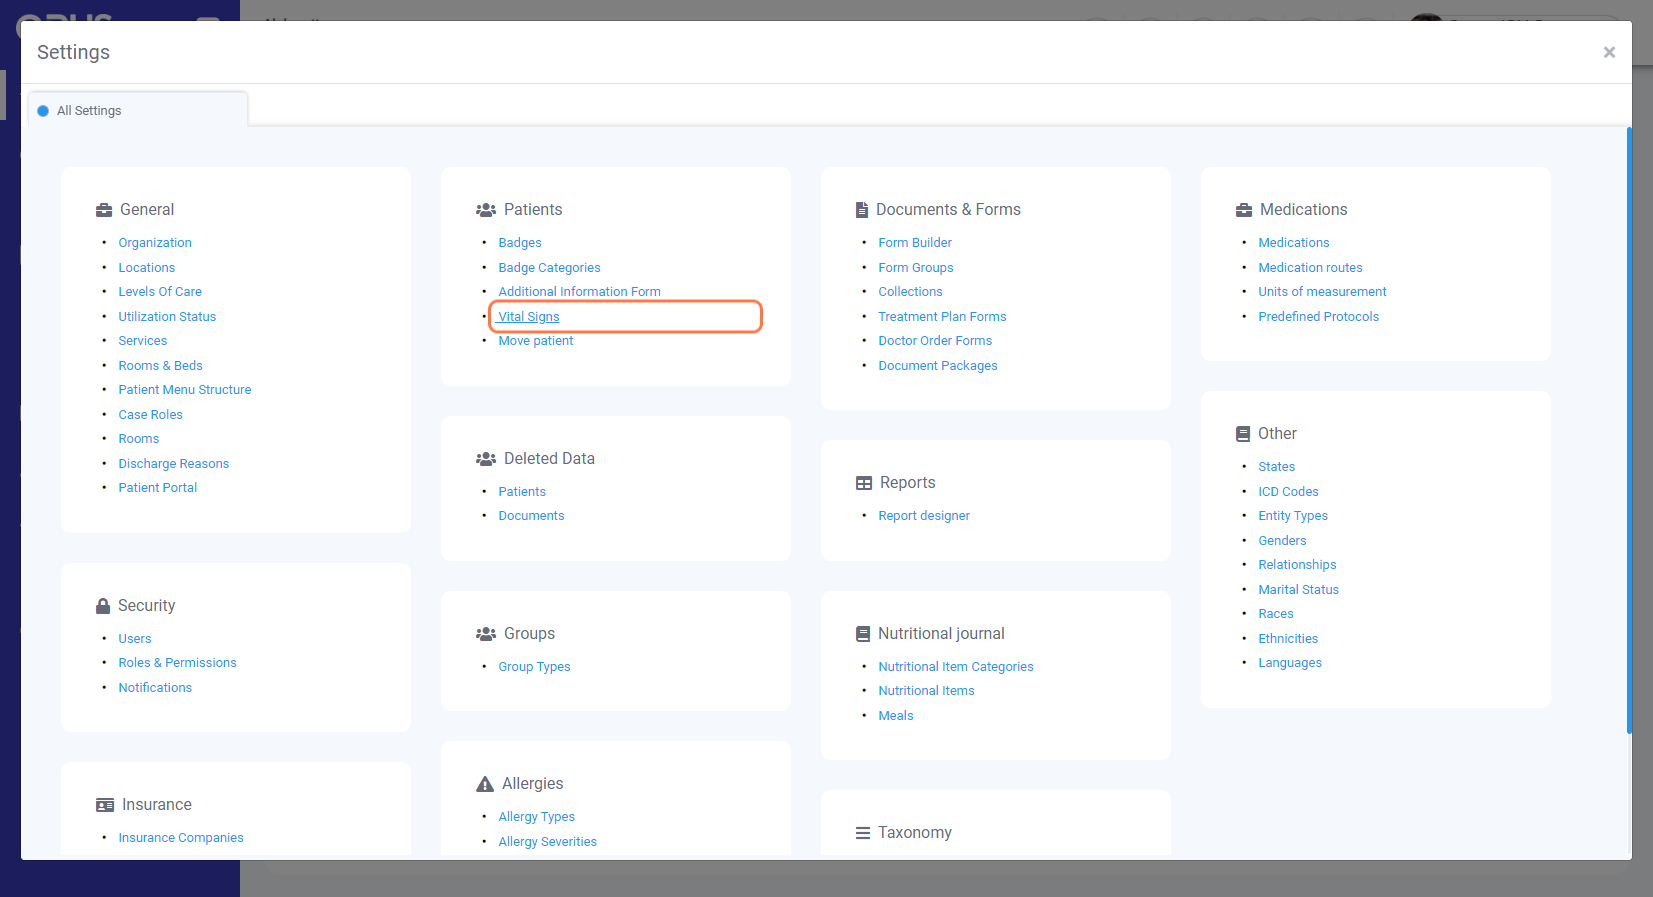
3. Under "Patients", select Vital Signs
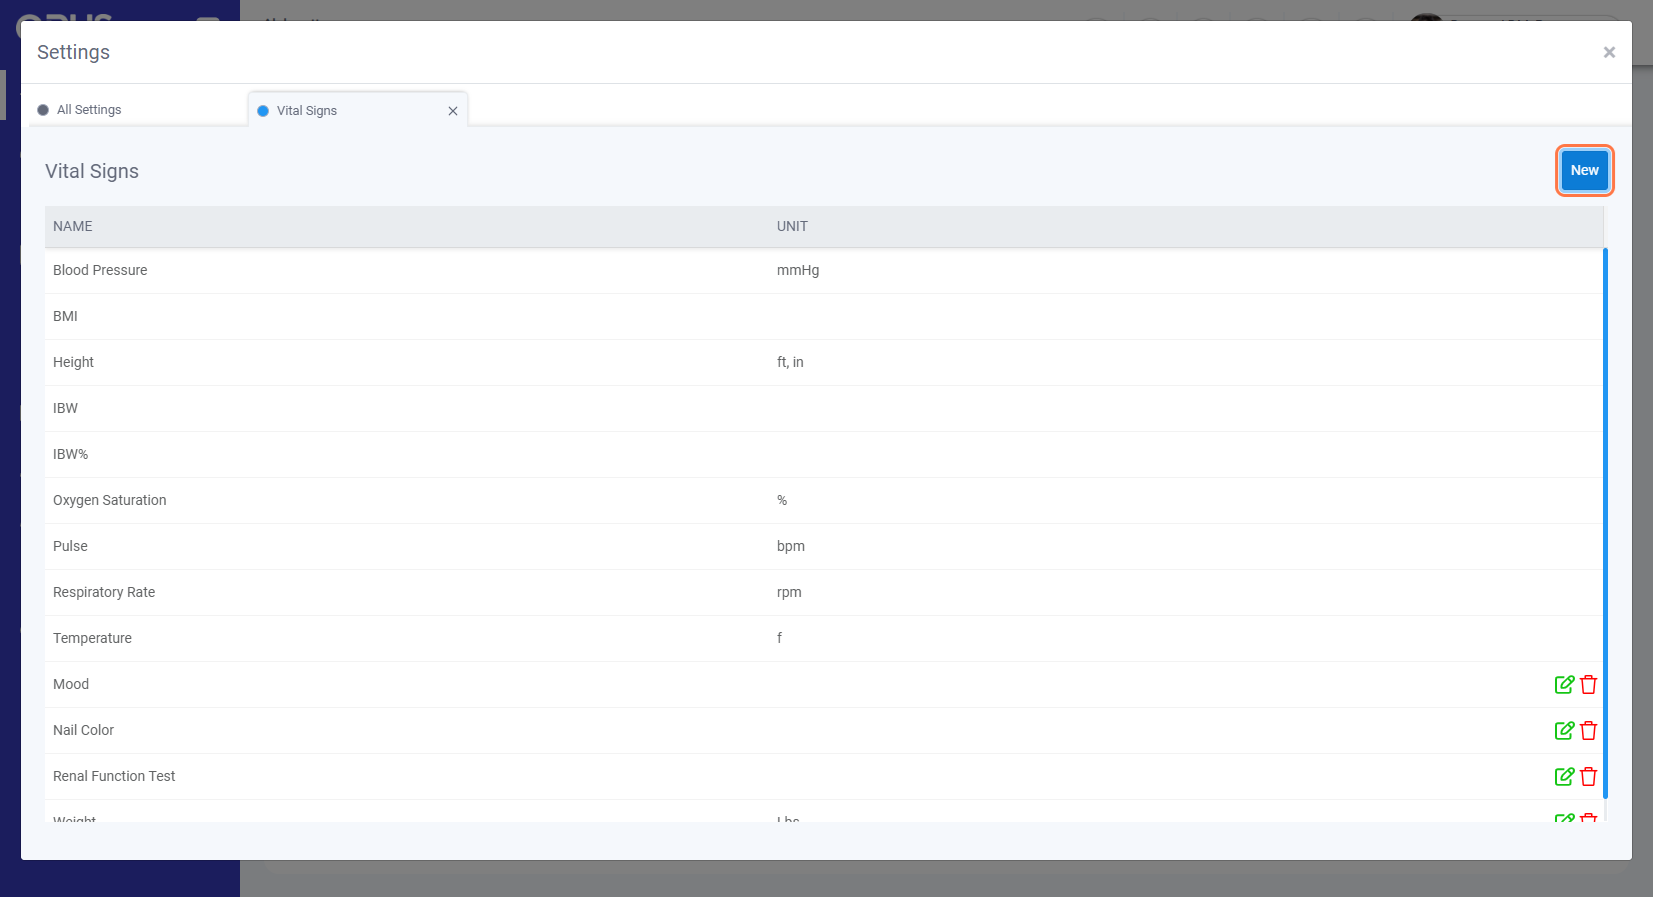
4. Click on New
5. Add details for the Vital Sign
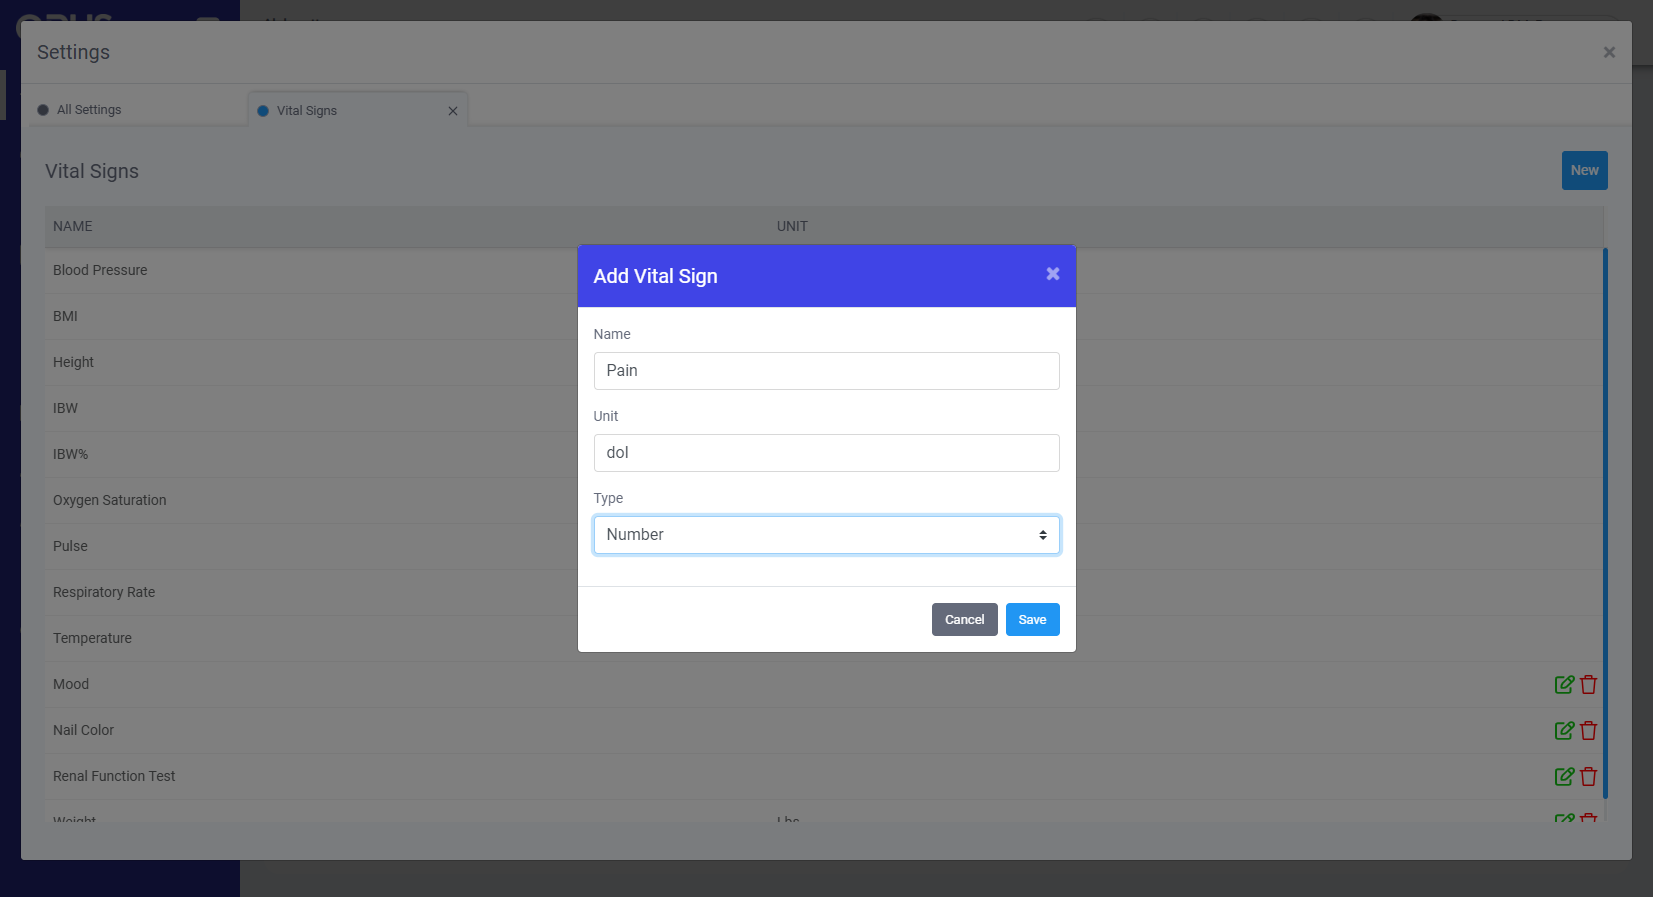
6. Clicking Save would then save the new Vital Sign to system
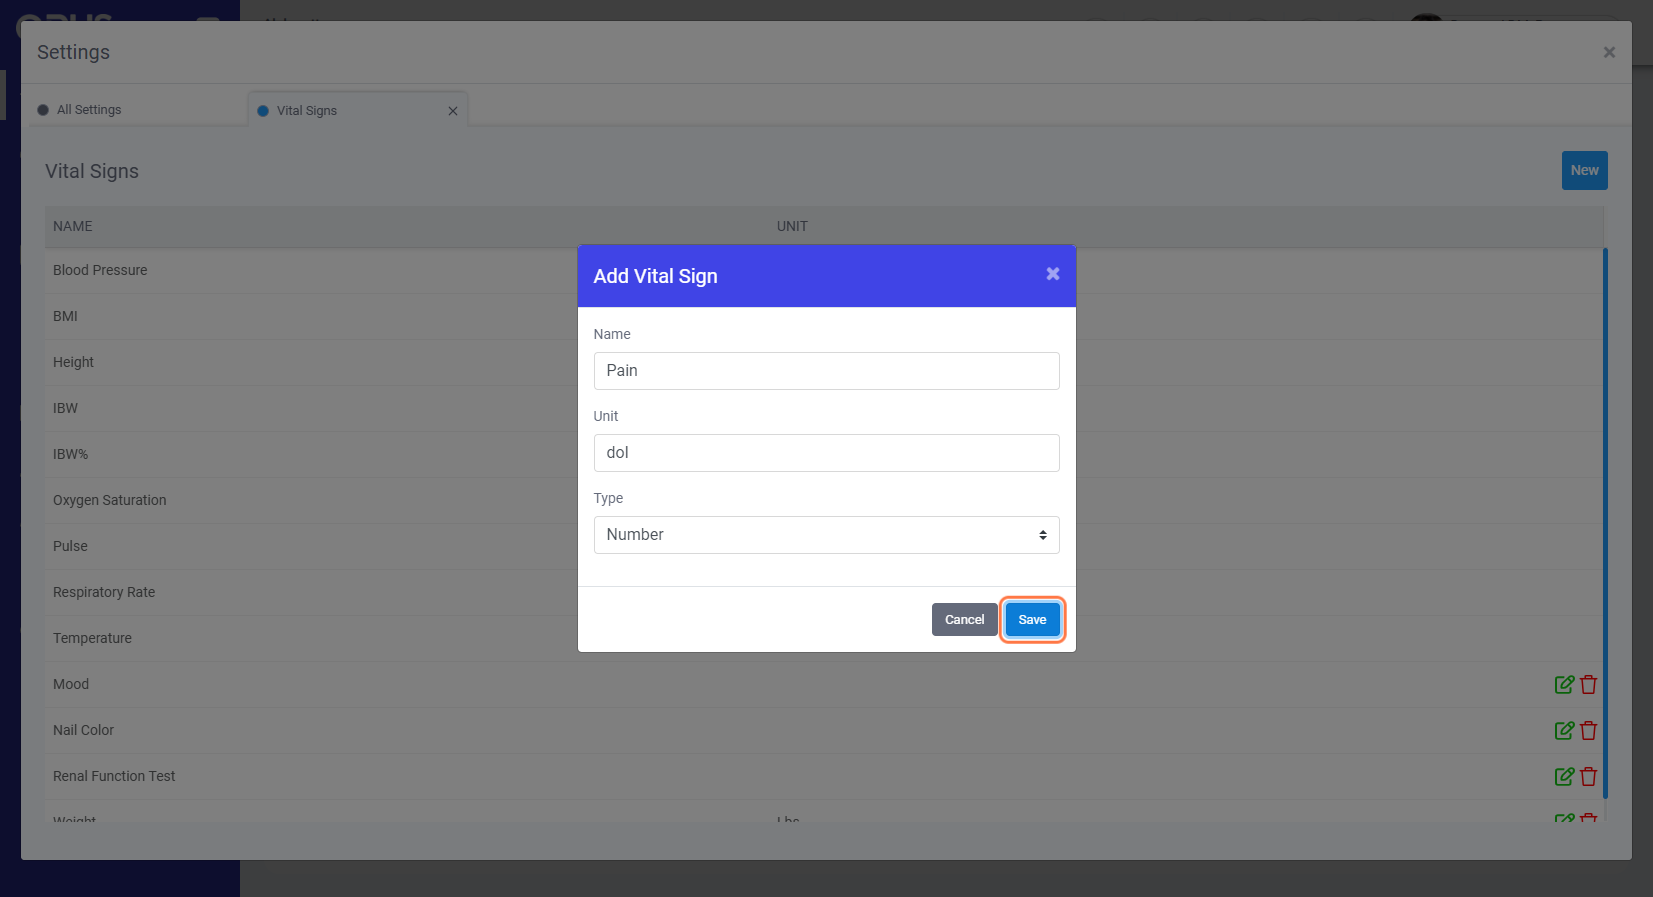
7. We now need to enable the Vital Sign for the location, click on "All Settings" and then "Locations"
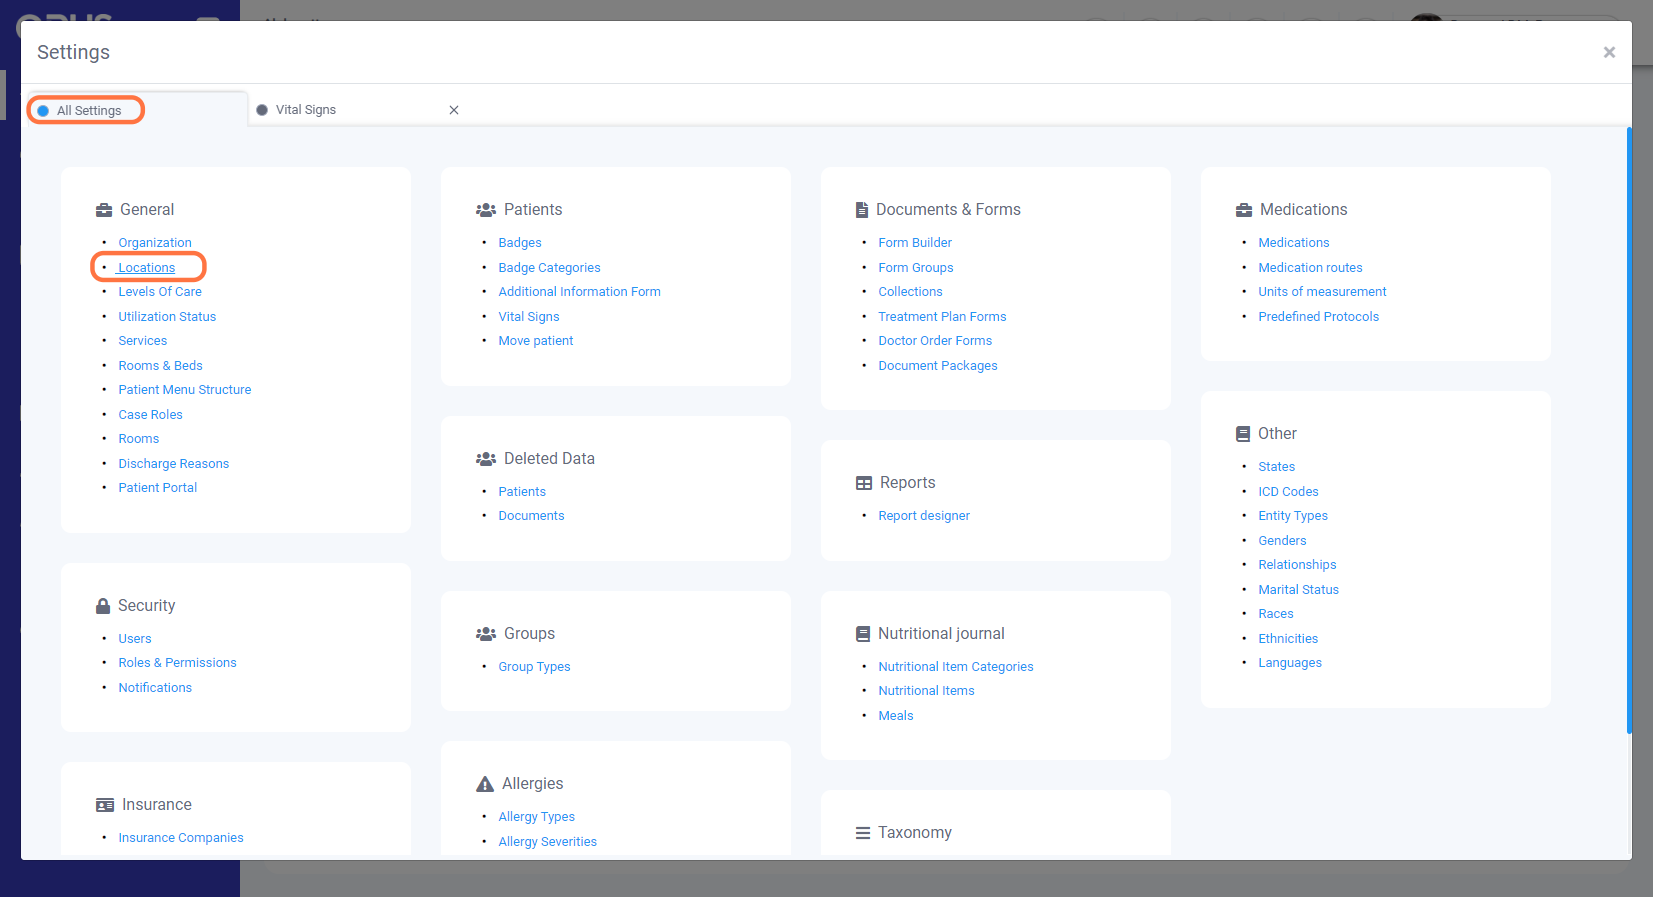
8. After clicking on "Locations", its tab will open. Click the pen and paper icon for the chosen location.
9. Click on "Vital Signs" tab
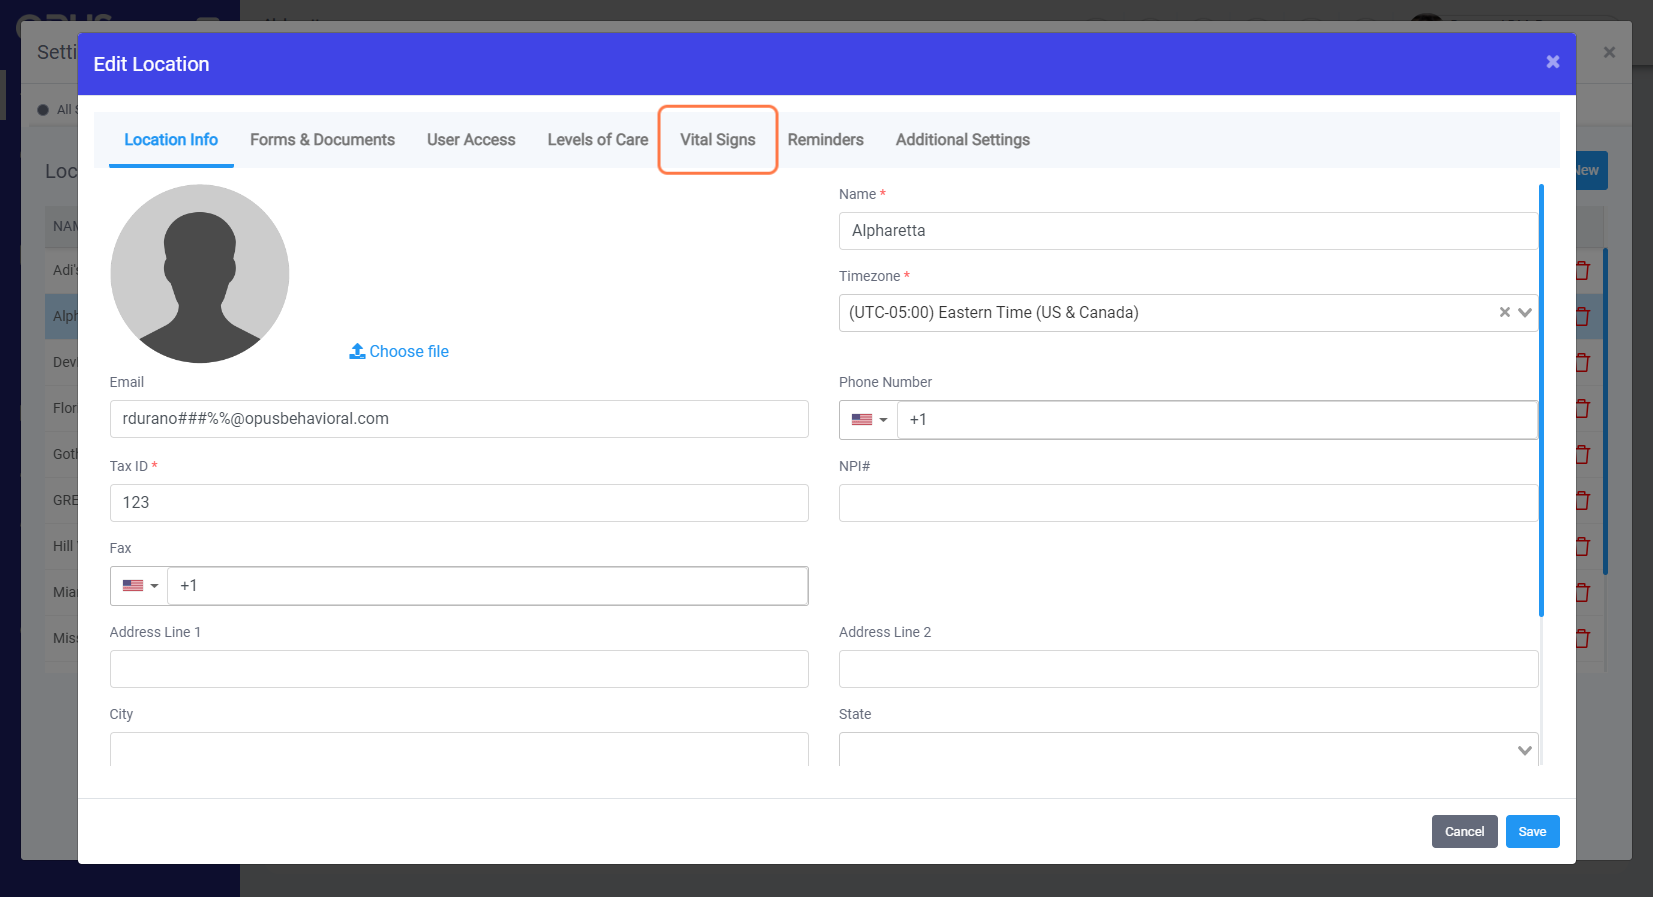
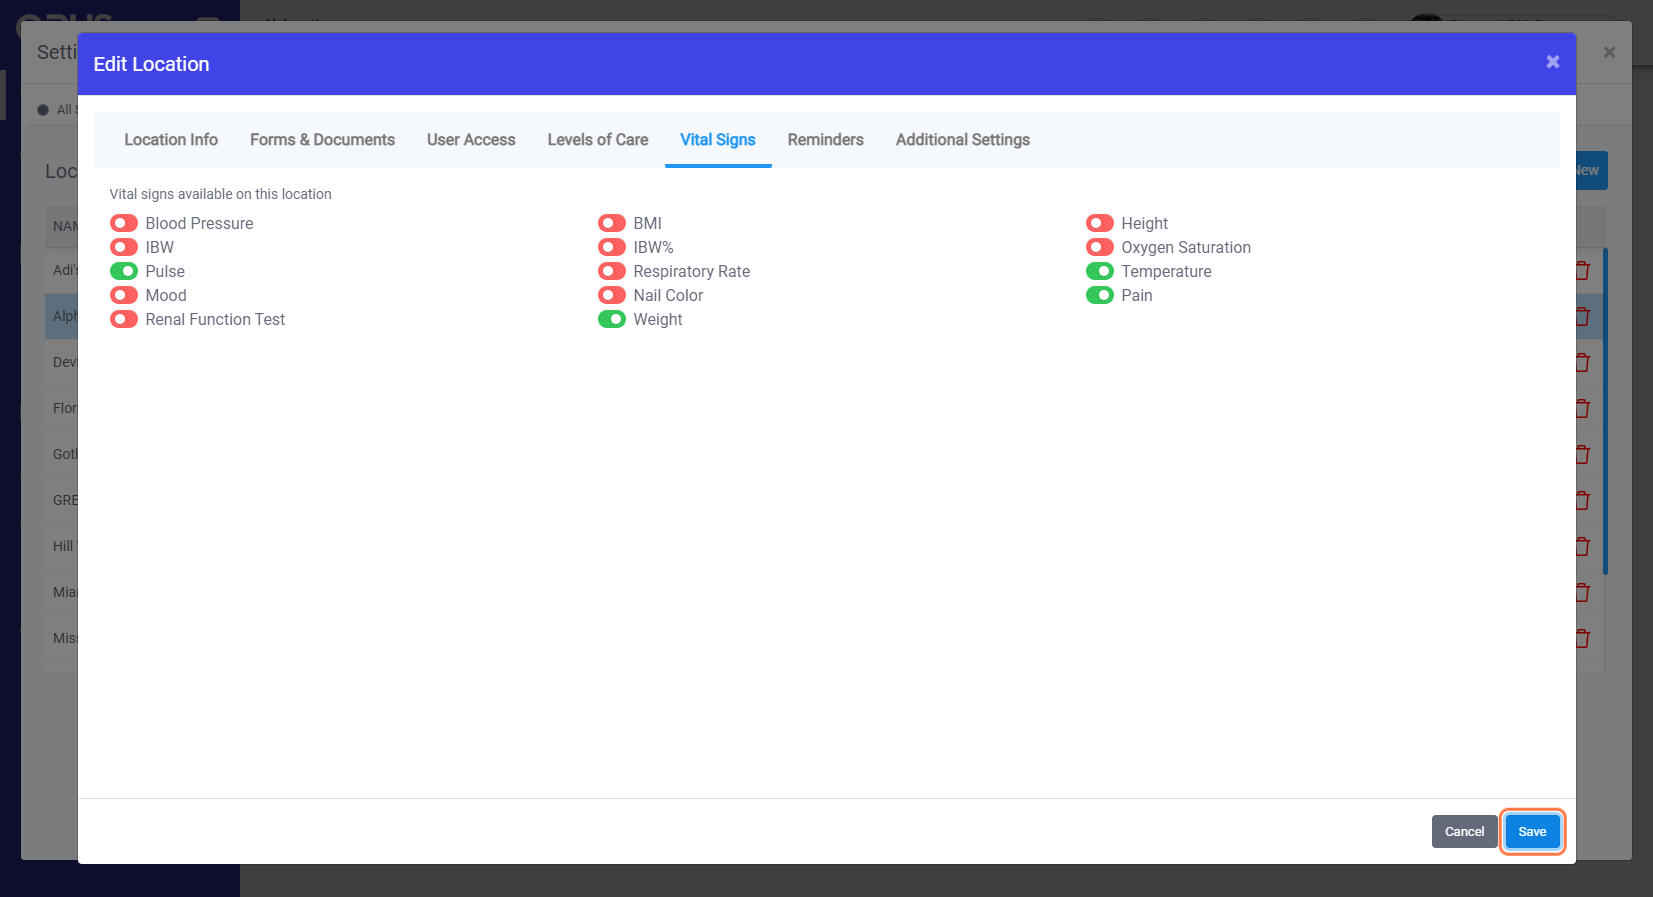
10. Toggle to enable the switch for the newly added Vital Sign to green

11. On the bottom right side, click on Save
12 On the top left side, press refresh icon or press "F5" on keyboard. New Vital Sign should now appear for each of the patient in the location where it's activated.
