
1. Log in to Opus Breeze EHR.
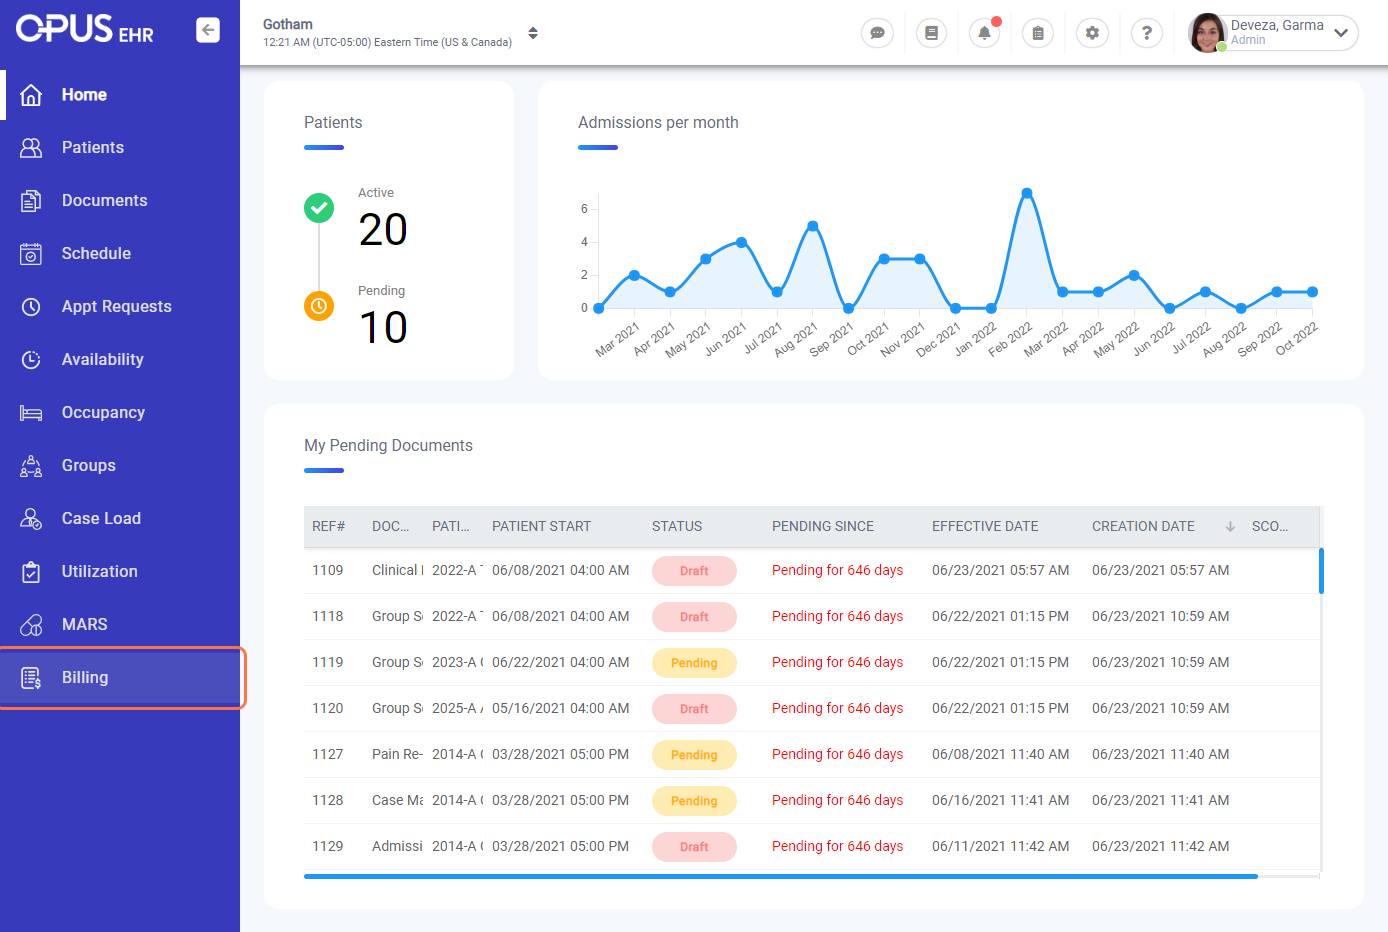
2. Navigate to the “Billing” section from the left menu bar and select it.
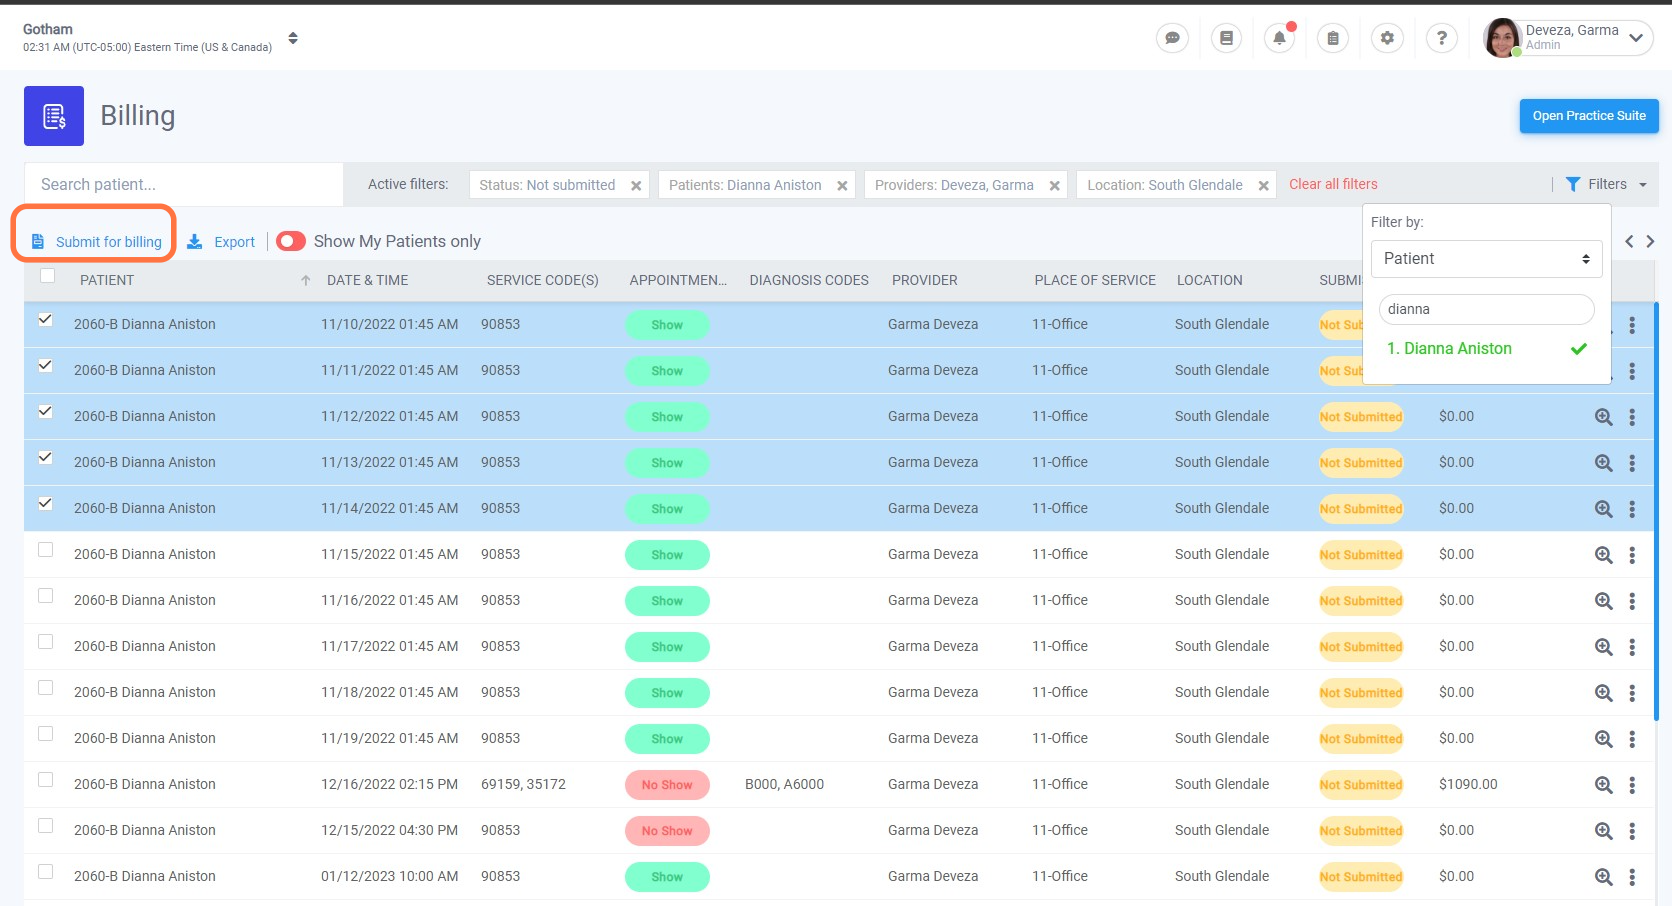
3. By Default, you will see the active filter on top is set to “Not submitted” (these are appointments that have not been submitted to your billing integration).
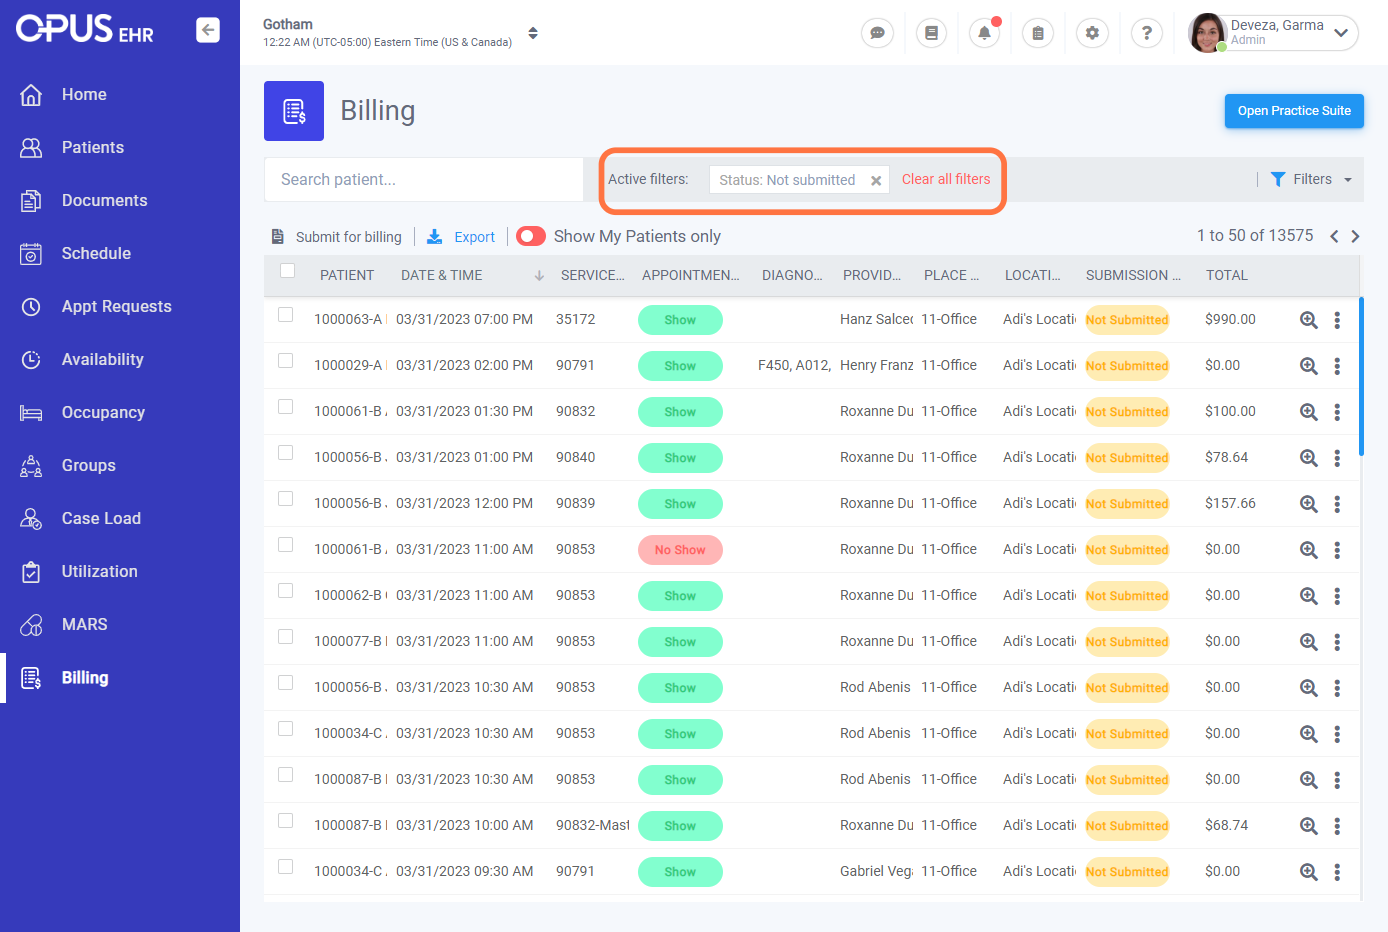
4. Columns and Description
-
Patient: Participant attending the appointment.
-
Date and Time: When and what time the appointment took place.
-
Service codes: These are the associated service codes with that appointment (Note: You can have one or multiple service codes linked with the appointment.
-
Appointment Status: Show, No Show, Canceled,Canceled Late
-
Diagnosis codes: These apply to the Diagnosis codes that were added for the patient in the appointment. By default, the active and resolved ICD codes added from the patient profile are automatically attached when a participant gets added to the appointment, and you have the option to modify by adding or removing ICD codes from the appointment screen.
-
Provider: User who facilitated the appointment.
-
Place of Service: Indicates the setting in which a service was provided.
-
Location: Where the particular appointment took place,
-
Submission: Status of the submission charges (Submitted or Not Submitted)
-
Total: The entire amount of the service that has been rendered.

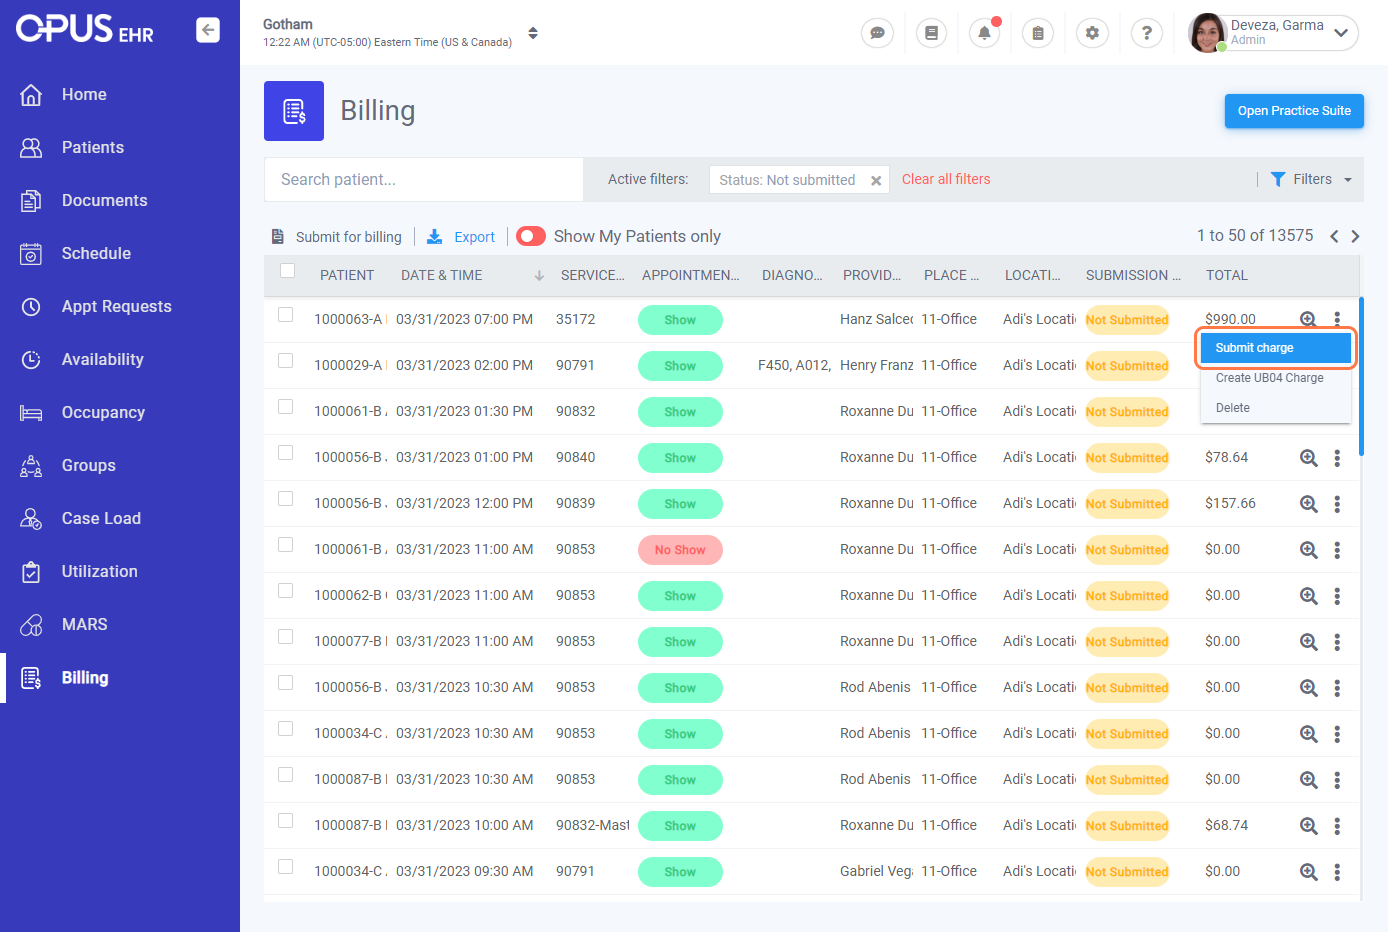
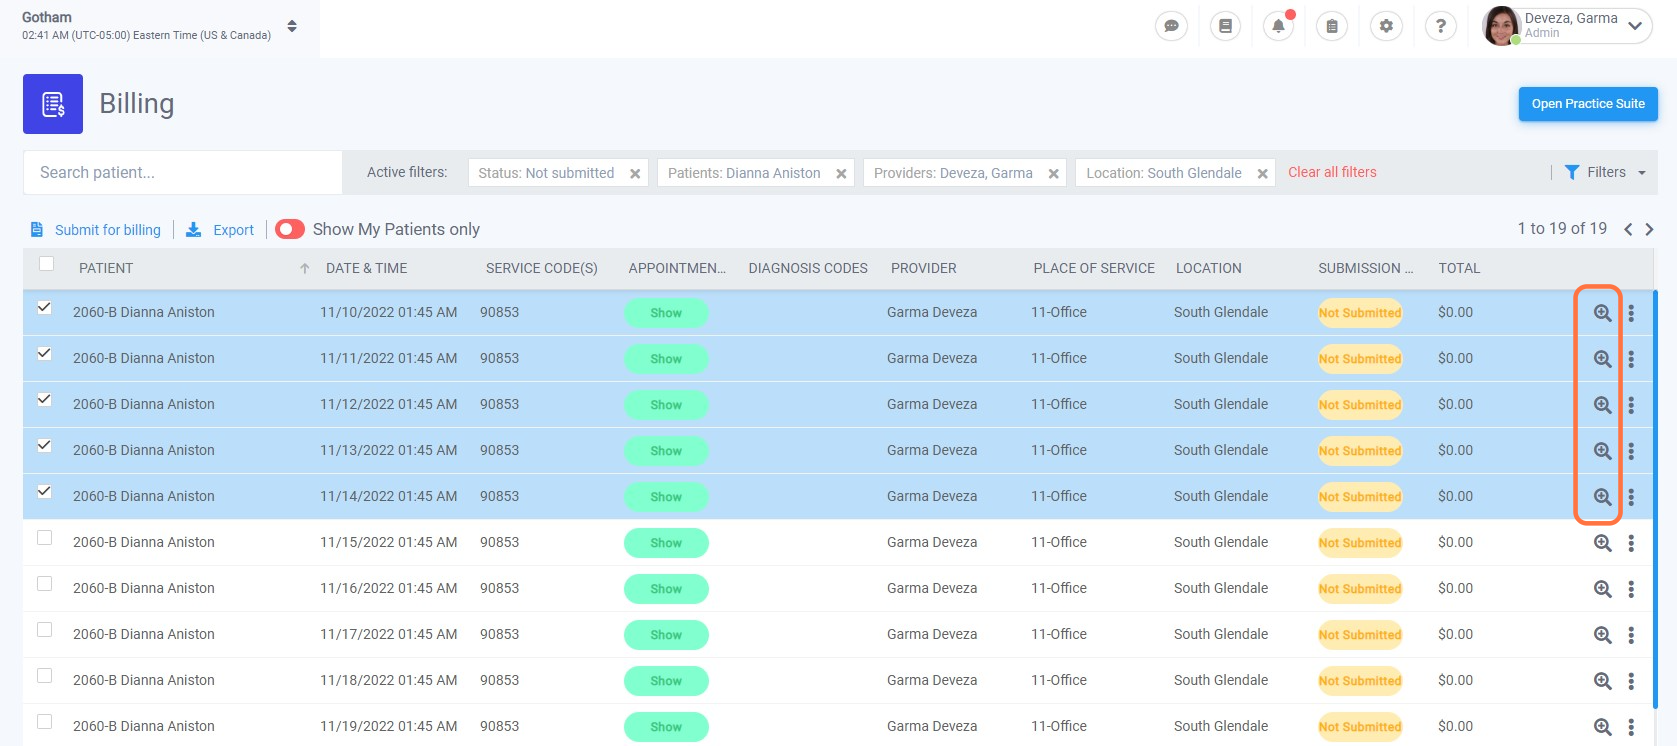
5. Individual submission of charges: Click the three dots in the far right (next to the magnifying glass)
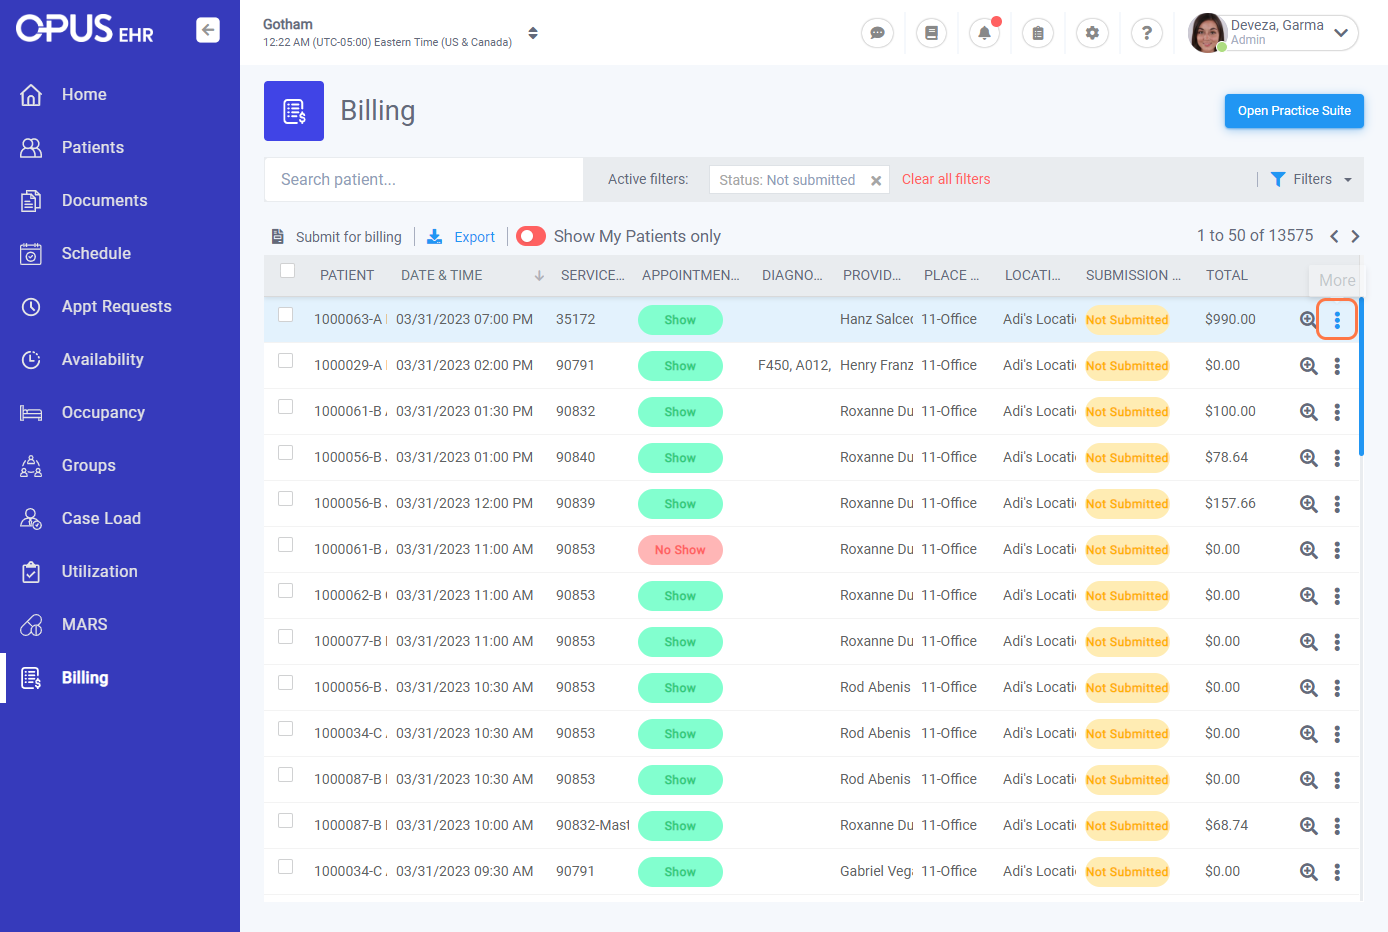
6. Click on "Submit charge."
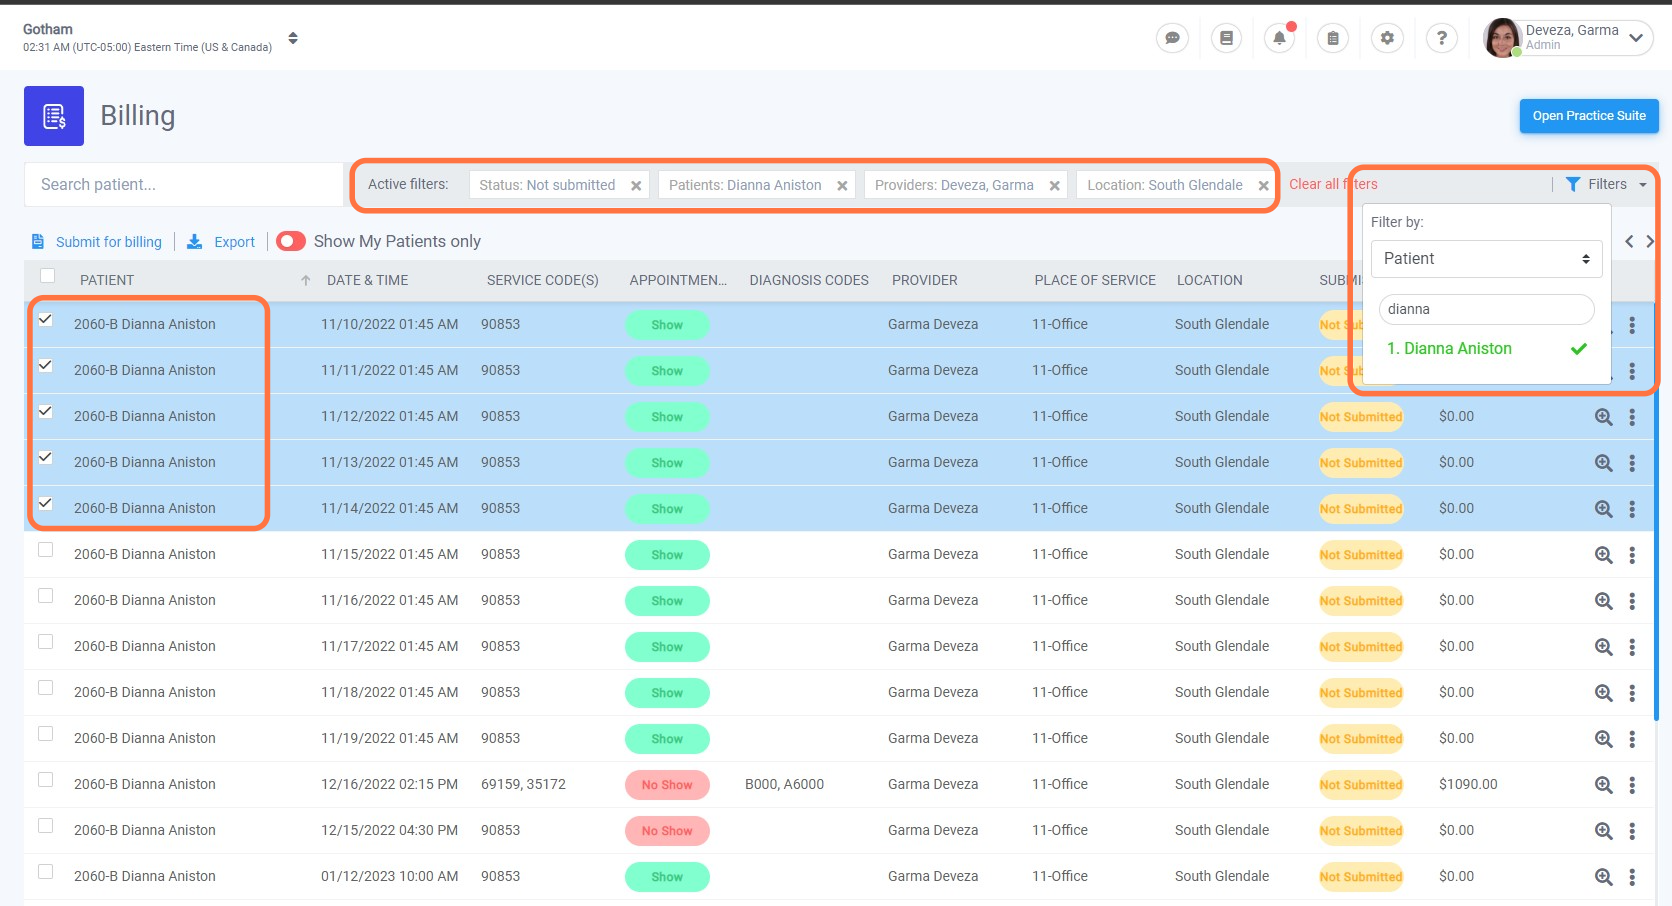
7. Bulk Submission of charges: You can utilize the filtering option and select a specific category or combine filter categories to search for charges you wish to submit. Select from the lists by putting a tick mark on the checkbox.
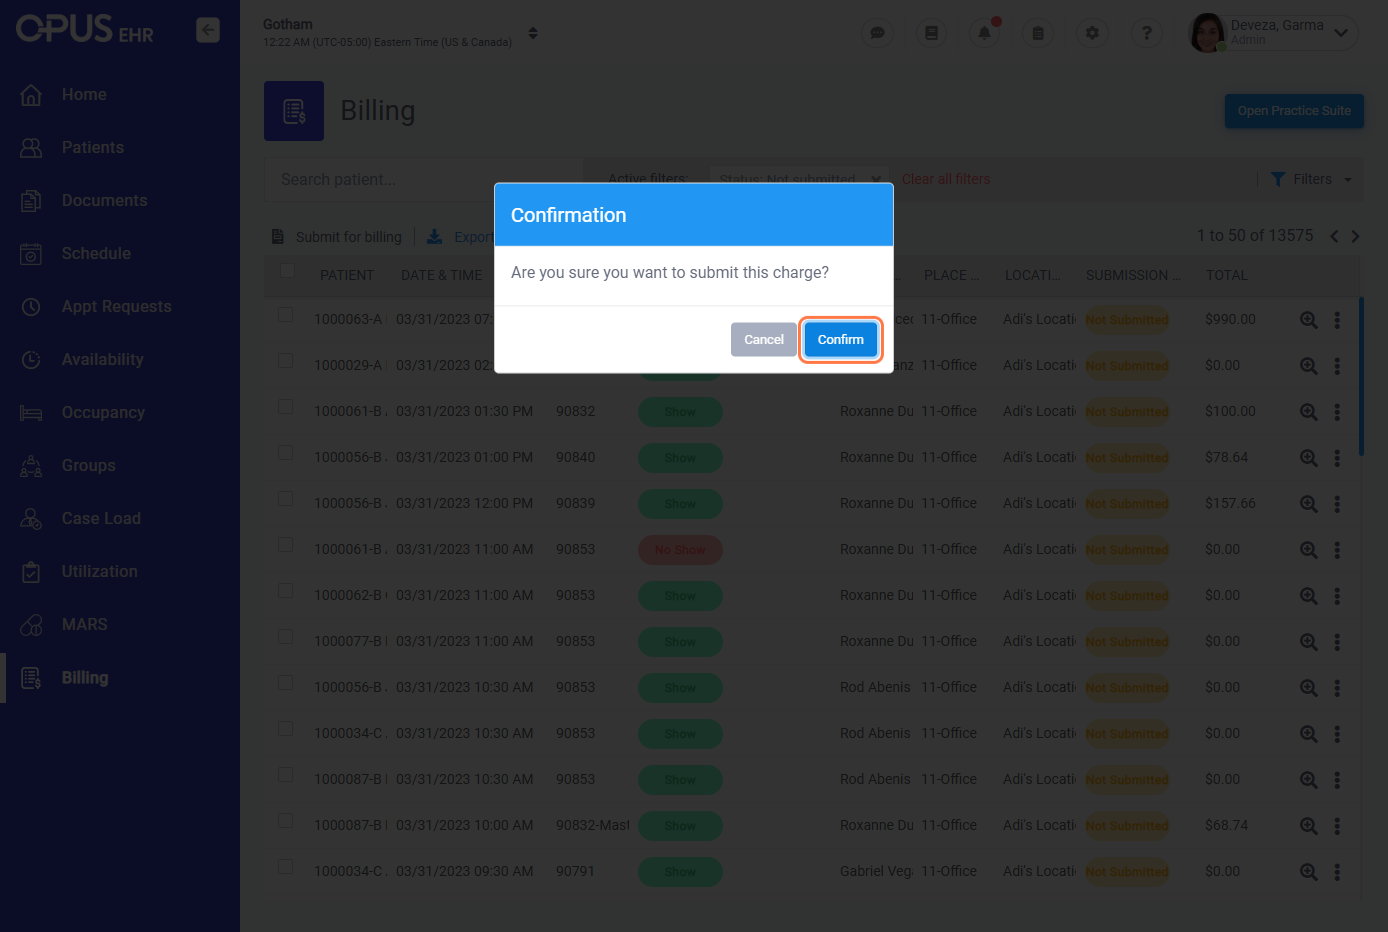
8. You will get a confirmation box to verify if you want to proceed with submitting the charges.
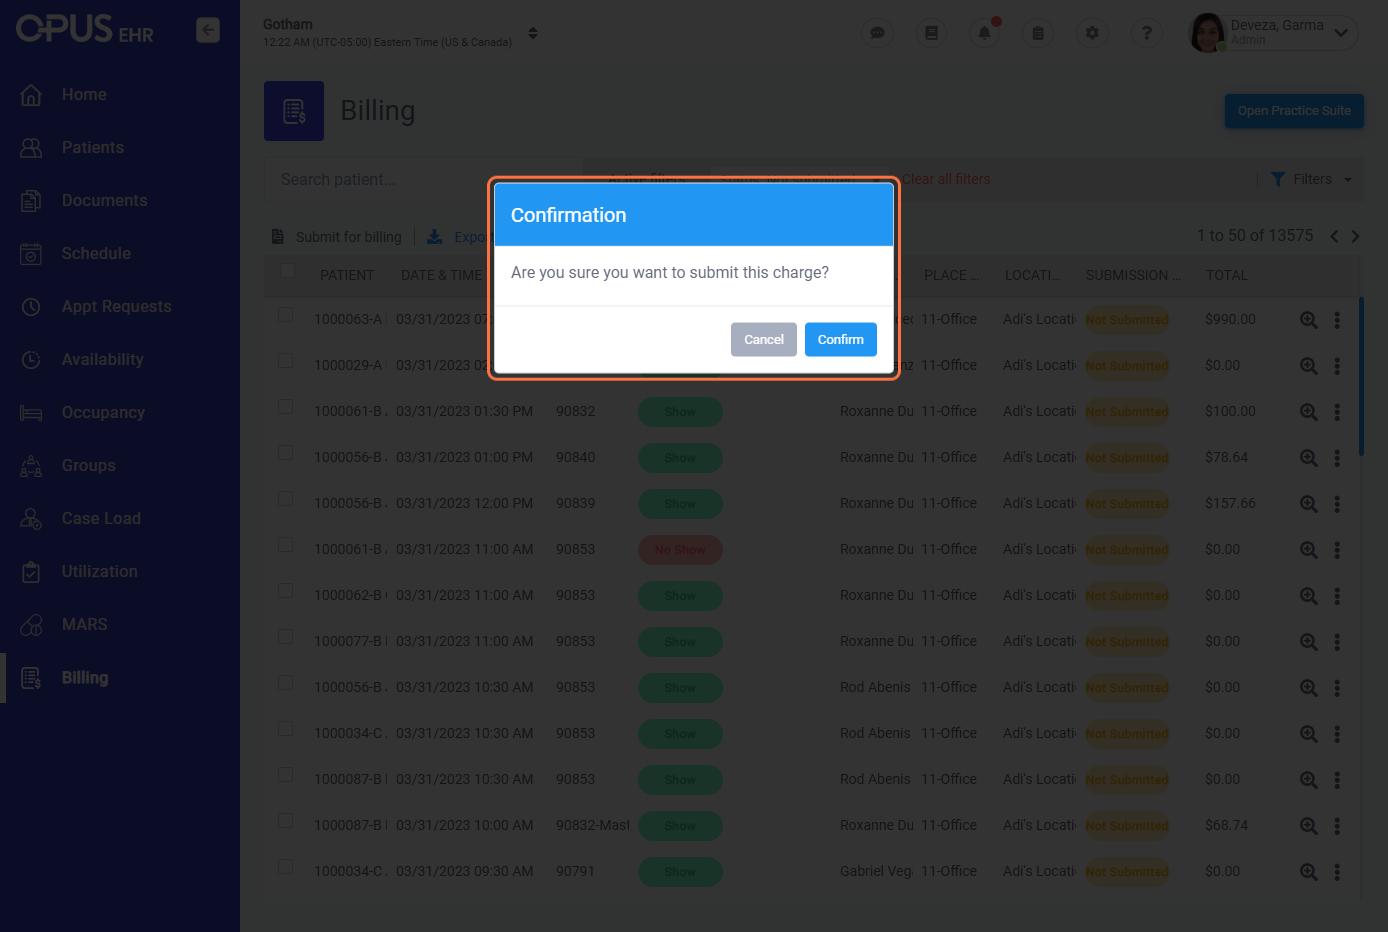
9. Click on "Confirm"
10. Click "Submit for billing" located under the search bar
11. If you want to get into the details or make adjustments to any of the information related to the appointment (e.g. diagnosis codes, services, total) prior to submitting the charges, utilize the magnifying glass you can find before the "three dots."
12. A "success" message displays on the bottom right if the action performed was completed/successful.
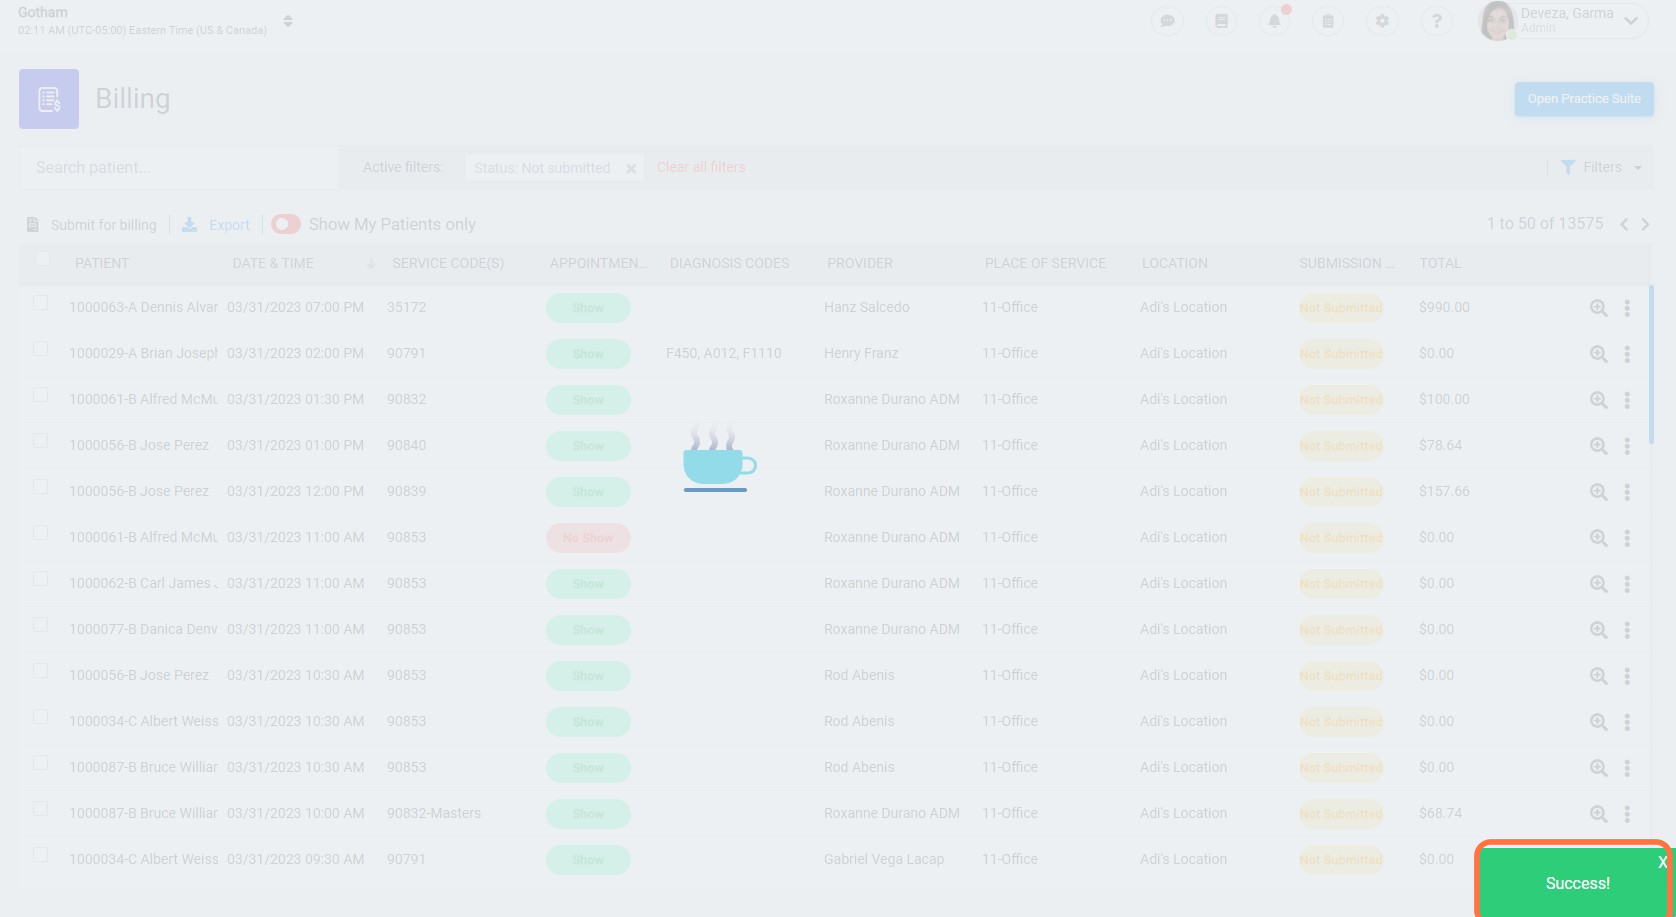
13. All successfully submitted charges go directly to one of our Integrated Billing Platforms.